How to use dip powder on natural nails
May 17, 2021 – Nadia Stamp

Using dip powder on natural nails is a great option for a manicure. Compared to other manicure alternatives, dip powder is one of the more gentle options that won’t have such a drastic effect on your nail health. It’s one of the many reasons why dip powder has become so popular with nail enthusiasts today.
Another reason why dip powder is so popular is its durability. It’s less prone to scratches and flaking which usually occurs with regular nail polish. Options like gel nails can provide long-lasting results but they can be harmful to your nail health. Gel nails can dry out your natural nails and make them more prone to peeling and cracking.
So if you’ve decided to use dip powder we’ve got all the inside goss for you. Read on for our step-by-step guide on how to apply dip powder on natural nails.
Step 1: Nail Preparation
Before you even think of dipping it’s important to make sure your nails are prepped and ready to go. One of the first prep tips we recommend is to push back your cuticles. You can do this with a cuticle pusher tool.
Our Pro Cuticle Pusher comes in a double-sided design with a non-slip grip. Use the curved end to gently push back your nails cuticles without scratching the nail surface. Once you’re done pushing back cuticles on all your nails it’s time to buff.
Using a White Buffer you can gently buff your nails to remove any shine. This will help your base coat and dip powder stick to your nail better.

Step 2: Apply pre-primer
The next step is to use a Pre-Primer. It’s one part of the process that proves why using dip powder is healthier than other nail alternatives. Pre-Primer is used to help kill germs and dehydrate the nail bed. This treatment helps to provide you with a longer-lasting manicure.
Other nail alternatives are prone to becoming breeding grounds for moisture and bacteria. This can cause long-term damage to your nails that can take weeks or even months to recover from.

Step 3: Start dipping!
Just before you get to the step of dipping your nails into Dip Powder there’s one last thing you should do. It’s time to add Primer. This helps to bond the base and dipping powder to your nails. Don’t be afraid to be generous when applying this Primer.
Next up it’s time to apply your Base Coat. This is used as a layering resin. It should be applied to every part of your nail except for the cuticles. Then you’re ready to dip!
By now you should already have your dip powder ready to go. The tub should be open so you can dip your nail straight in. Dip your nail into the Dip Powder gently and make sure your nail becomes fully submerged in the Dip Powder.
After you remove your nail from the Dip Powder, give your finger a gentle tap. This tapping action will help remove any excess powder from your nails. Now repeat the process of applying your base coat and dipping at least three more times for flawless results.

Step 4: Apply activator
Next up it’s time to apply Activator. As you’re applying this activator the trick is to drench your nail in it. The Applicator is used to set your dip powder. So a generous coat will ensure your dip powder is properly sealed and protected. After applying your first coat of Activator let it dry.

Step 5: File, buff, and smooth
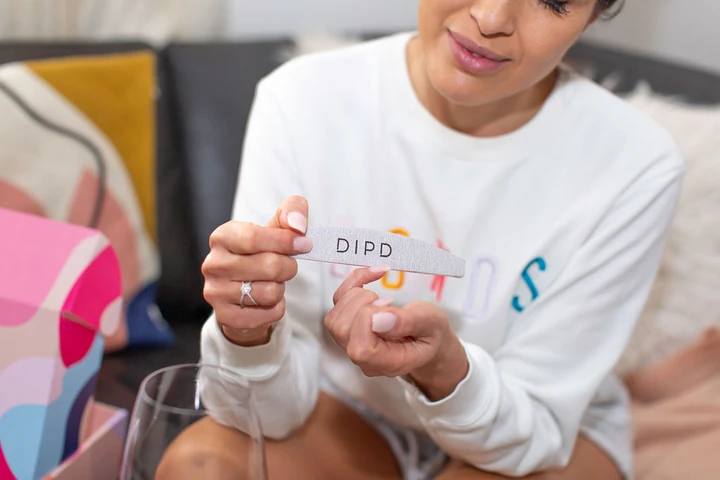
Next up you’ll need to shape and buff your nail with the Activator on. We recommend using a Nail File to do this. Start filling from the sides and move into the centre. This process will also help to remove clumps if any have formed. After filling down your nails it’s time to use the Buffer again. This will help smooth down the surface of your nails.

Step 6: Apply a final layer of activator
Once you’re happy with the shape and smooth surface of your nails it’s time to apply Activator again. This time just aim for a thin layer to lightly coat the top of your nails. This coat is applied to seal your nails. Once the first Activator coat dries, apply a second coat. This second coat is applied to give your nails more gloss.
Now that you’re done treating your nails we strongly suggest applying Cuticle Oil to your cuticles. Applying Cuticle Oil will help to hydrate and soften your cuticles and the skin around them. This application will help to prevent the appearance of dry and tired looking cuticles.

 is here! Shop now, pay later in 4 easy installments

