The Foolproof Method to Perfect Dip Nails
January 3, 2022 – Nadia Stamp

So you want your nails to get that professional look but don’t have the time or feel like going all the way to a salon for treatment? We see you, ladies, and that’s why our DIPD dip powders and starter kits are made so even a beginner can achieve perfect salon-style nails at home. Don’t let the process daunt you! Just follow our step-by-step guide and handy tips (pun intended), and soon enough you’ll be dipping like a pro.
Before we begin, make sure you’re fully equipped with everything you need for your dip powder treatment. Our DIPD Starter Kit provides you with a complete package of tools to go with your favourite dip powder shade, including:
- 1 x 15g Dip powder, with all our available colour options
- 12ml New Formula Primer liquid
- 12ml New Formula Base coat resin
- 12ml New Formula Activator liquid
- 12ml New Formula Top coat resin
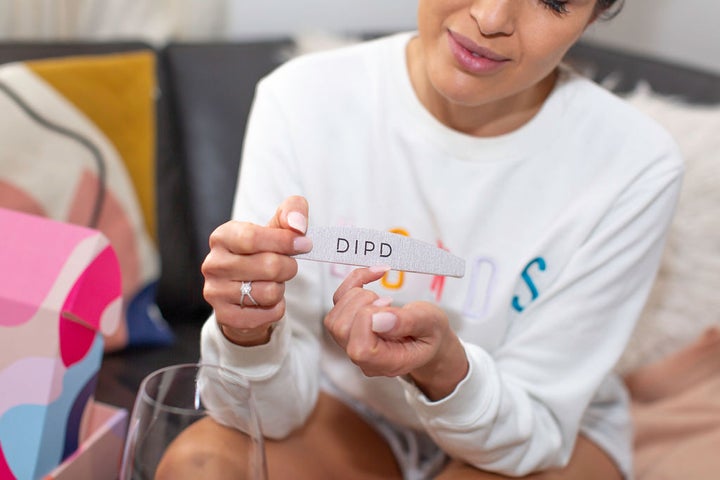
- Crescent professional nail file
- White block buffer and cuticle stick
- Deluxe kabuki dust brush
- How-to-guide
All our dip powders and accompanying liquids use our new allergy-free formula in addition to being vegan and cruelty-free, and 100% Australian made. Along with your starter kit, it’s important to have these essentials on hand to give your nails the perfect finish, all sold separately:
- DIPD stainless steel pro-cuticle pusher (available separately or as a pusher-trimmer duo pack)
- DIPD cuticle oil
- Lint free wipes and rubbing alcohol
- DIPD dip remover
Step 1: Preparing Your Nails
This is perhaps the most crucial part of the process, since without proper preparation your dip powder nails will lift prematurely and we don’t want that. The most common causes of lifting are from any dead skin present around the cuticle, and from any oils and shine in the nail.
To prep your cuticles, take your cuticle pusher and hold it curve-side up so it aligns with your nail bed, and very gently push back the live cuticle so you have a clear view of all the dead tissue. Then, using the other pointy end held on its side, gently scrape away the dead tissue away from the nail plate - but be sure not to touch the nail plate, or it can cause lasting damage.
Next, we need to remove any excess oils from the nail base, and we do this with our crescent nail file and white buffer block. Make sure the edges of the file are properly buffed - you don’t want sharp edges hurting your nails. Run the file gently over the surface of the nail to remove any dead tissue left behind, then use the buffer to remove any excess shine.
Finally, apply a thin coat of primer to your nails and let it dry them out. This is what will help the base properly attach to your prepped nail.
Step 2: Apply Base and Dip
Next, grab your base coat, and apply a thin layer starting from three-fourth of the nail and moving down - not too close to the cuticle. Once you’ve covered the nail surface, fan out the brush and move over the nail base; this way, you ensure your cuticles don’t get flooded with powder once you dip.
Now, carefully dip your finger for the first coat of dip powder; a good tip is to hold your hand steady at a 45 degree angle, while bringing the container over the nail and removing it. Tap your finger against the container, then use the soft kabuki brush to remove any excess powder without pressing against the nail. Leave on for 30 seconds before applying the next layer.
Repeat this process till you get the colour strength you need; we recommend 3-4 dips. Make sure your base layers are thin and even; you don’t want a thick, lumpy layer of dip powder.
Step 3: Activation and Styling
Once your dip layers are done, top them off with a thin layer of activator liquid. This will seal in the colours and ensure the powder properly dries. Leave on for two minutes before moving on to filing and buffing your nails.
Use the file to shape the side walls and the top surface, then buff your heart out with the white buffer block to make sure your nails are smooth and even with no lumps. After this is done, use a lint-free wipes soaked in a little rubbing alcohol to remove any excess dust from filing.
Apply one final layer of activator, leave it to dry, then (important!) use another wipe to properly rub out any excess liquid and dry out the nails before applying the top coat.
Step 4: Final Touches
Finally, layer on your top coat. Apply it in quick, thin strokes over the nail, allowing it to dry as you go between nails; your second coat can be a little thicker and slower for an even application. Leave this to dry for two minutes. Then, apply a layer of cuticle oil around the cuticles and gently rub it in to finish off the process and keep them soft.
Et voila! Your very own salon-style dip powder nails, done all by yourself in the comfort of your home. It may take a few tries to perfect the process, but the end results are worth it and spare you loads of time and hassle. All with the quality assurance our DIPD products give you to look and feel your best.
Tried our DIPD dip powders or starter kits? Be sure to share your happy snaps with us on social!
Nadia xoxo
 is here! Shop now, pay later in 4 easy installments

