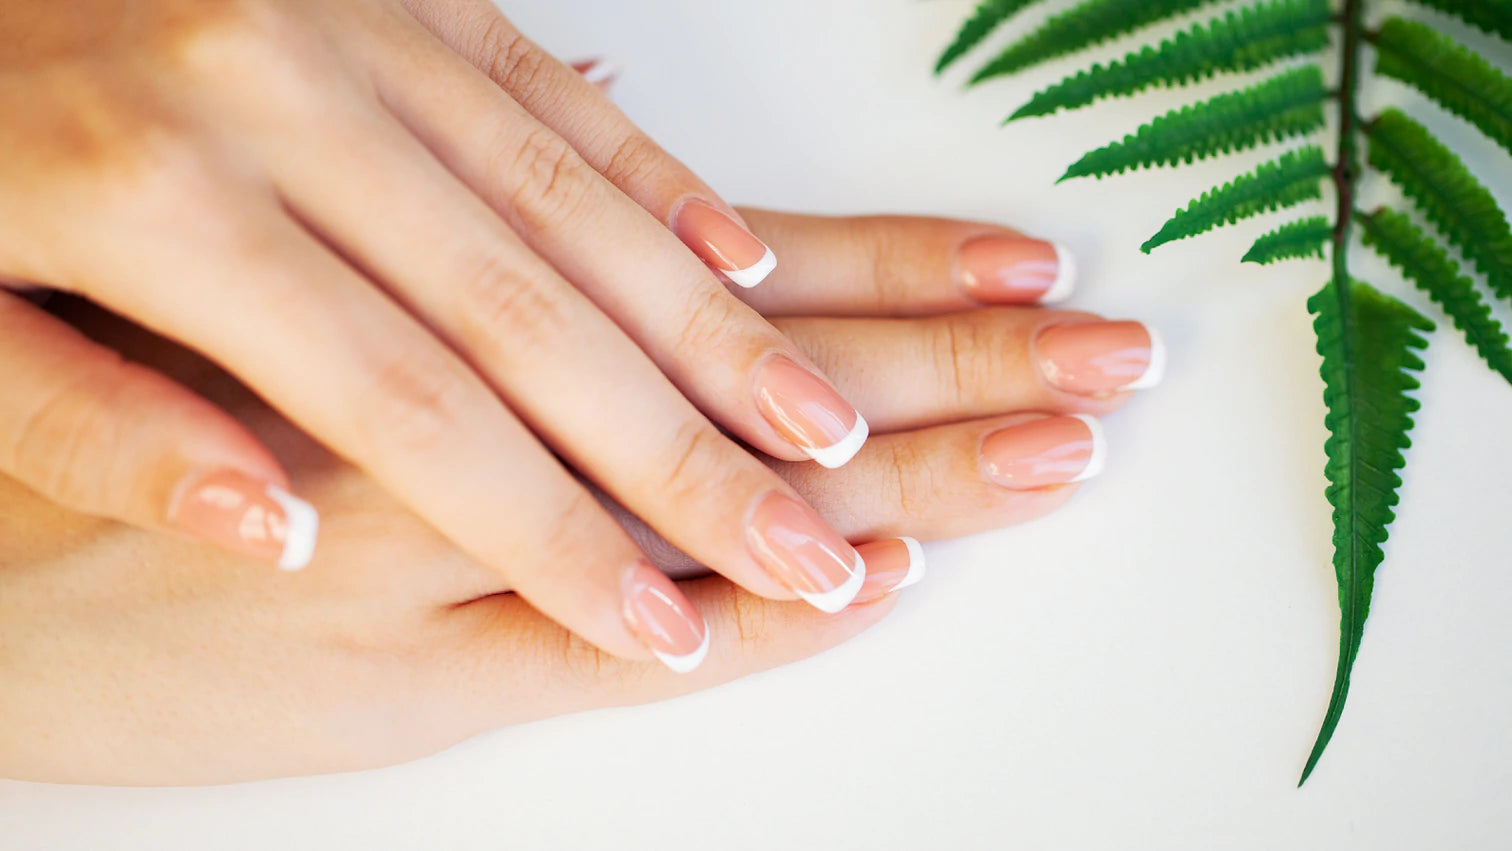
Why Do I Get A Matte Finish Instead Of Gloss With My Dip Nails?
March 17, 2022 – Nadia Stamp

The top tips to nail the perfect dip nail finish everytime
Now that we’ve taken you through the foolproof method to applying dip powder nails by yourself at home with our DIPD dip powder system, we’d like to help you navigate some common problems first-time dip powder nails users may face. After all, no method truly becomes foolproof without practice, and as you keep experimenting more and more with dip powder nails you may find yourself facing little obstacles and your finished look may not be the one you pictured. But don’t get frustrated! We’re here to help you cover all your bases (pun intended) so you’ll soon be dipping like a pro.
One common issue I’ve heard many women ask me is why their system turns out with matte finish dip nails rather than the glossy look they were promised in the picture. The trick lies in the correct step-by-step application of the products in your DIPD Starter Kit, and understanding what each of these products do to figure out where the problem may be. So let’s get straight into the nitty-gritties and help you manage your matte finish dip nails…
What Exactly Causes Matte Finish Dip Nails?
If you take a look at your DIPD Starter Kit, you’ll find that along with your favourite dip powder shade you have the essential binding liquids including primer, base coat, activator and top coat. These liquids all have different compositions and each serves a specific purpose for your nail, which is why it’s important to not let them interact directly with each other. Always make sure your individual layers of liquid or dip are dried properly before moving onto the next!
When it comes to the issue of matte finish dip nails, the problem usually arises in the interval between applying the activator and top coat. The activator liquid’s function is to ‘activate’ your dip powder and seal in its colour and shine, but if it comes into contact with the top gloss, it will activate the top gloss as well and cause it to cloud over. This is why your dip nails may end up with a matte finish rather than a glossy one.
Top Tip: Dry Out Your Nails!
Let’s take a look at our dip powder application guide again, and zoom in on step 3. We use two layers of activator liquid, where the first one will seal in the colour, then you leave it to dry for two minutes before filing and buffing your nail and applying the second layer. This is the important part: after leaving it to dry, make sure you remove any excess activator liquid by rubbing your nails down with a lint free wipe soaked in rubbing alcohol. This will ensure none of it comes into contact with your top coat when you get to step 4!
Tried our tips to solve the issue of matte finish dip nails and successfully created your own style statement mani? Be sure to share it with us on social media!
Beware Cross Contamination
Sometimes cleaning your nails might not be enough and there may still be surface powder or activator that gets trapped in the top coat brush, so when you replace the brush in the bottle, it clouds up like the matte finish dip nails. This is why it’s always good practice to clean your brushes between applications along with your nails. Use the same lint free wipes in rubbing alcohol as you do for your nails, or leave the brush to soak for 15 minutes in DIPD brush saver liquid. A clean brush is a happy brush!
How To Get A Shiny Top Coat
Once your activator liquid has dried and been properly cleaned out, you can safely move onto the top gloss. Here is where some first-time users make the mistake of applying too much at once or too many layers to get an even shine, but this may cause clumps to form in your finish. Instead, refer to step 4 and start with a thin layer in quick strokes (for good practice, count to three when applying them), leave it to dry for 30 seconds, then apply your second layer slower and a little thicker, capping the edges. Patience is key - but your fab, shiny nails are always worth it in the end!
What If I Do Want A Matte Finish?
You can still achieve a matte finish with your dip nails by following the proper application and not by complete accident! If you don’t have a UV light at home, the easiest option is to achieve a matte look by buffing. Just follow the exact same process as normal dip powder nails application, with one additional step at the end: use your e-file to lightly buff off the shine, before applying one last coat of activator, drying it out, and a thin layer of top coat. This way, your dip nails can have a matte finish without cracking from interfering liquids.
Tried our tips to solve the issue of matte finish dip nails and successfully created your own style statement mani? Be sure to share it with us on Instagram!
Nadia xoxo
 is here! Shop now, pay later in 4 easy installments

